Points Customization
1. Login with admin details.
2. Click on the "Courses".
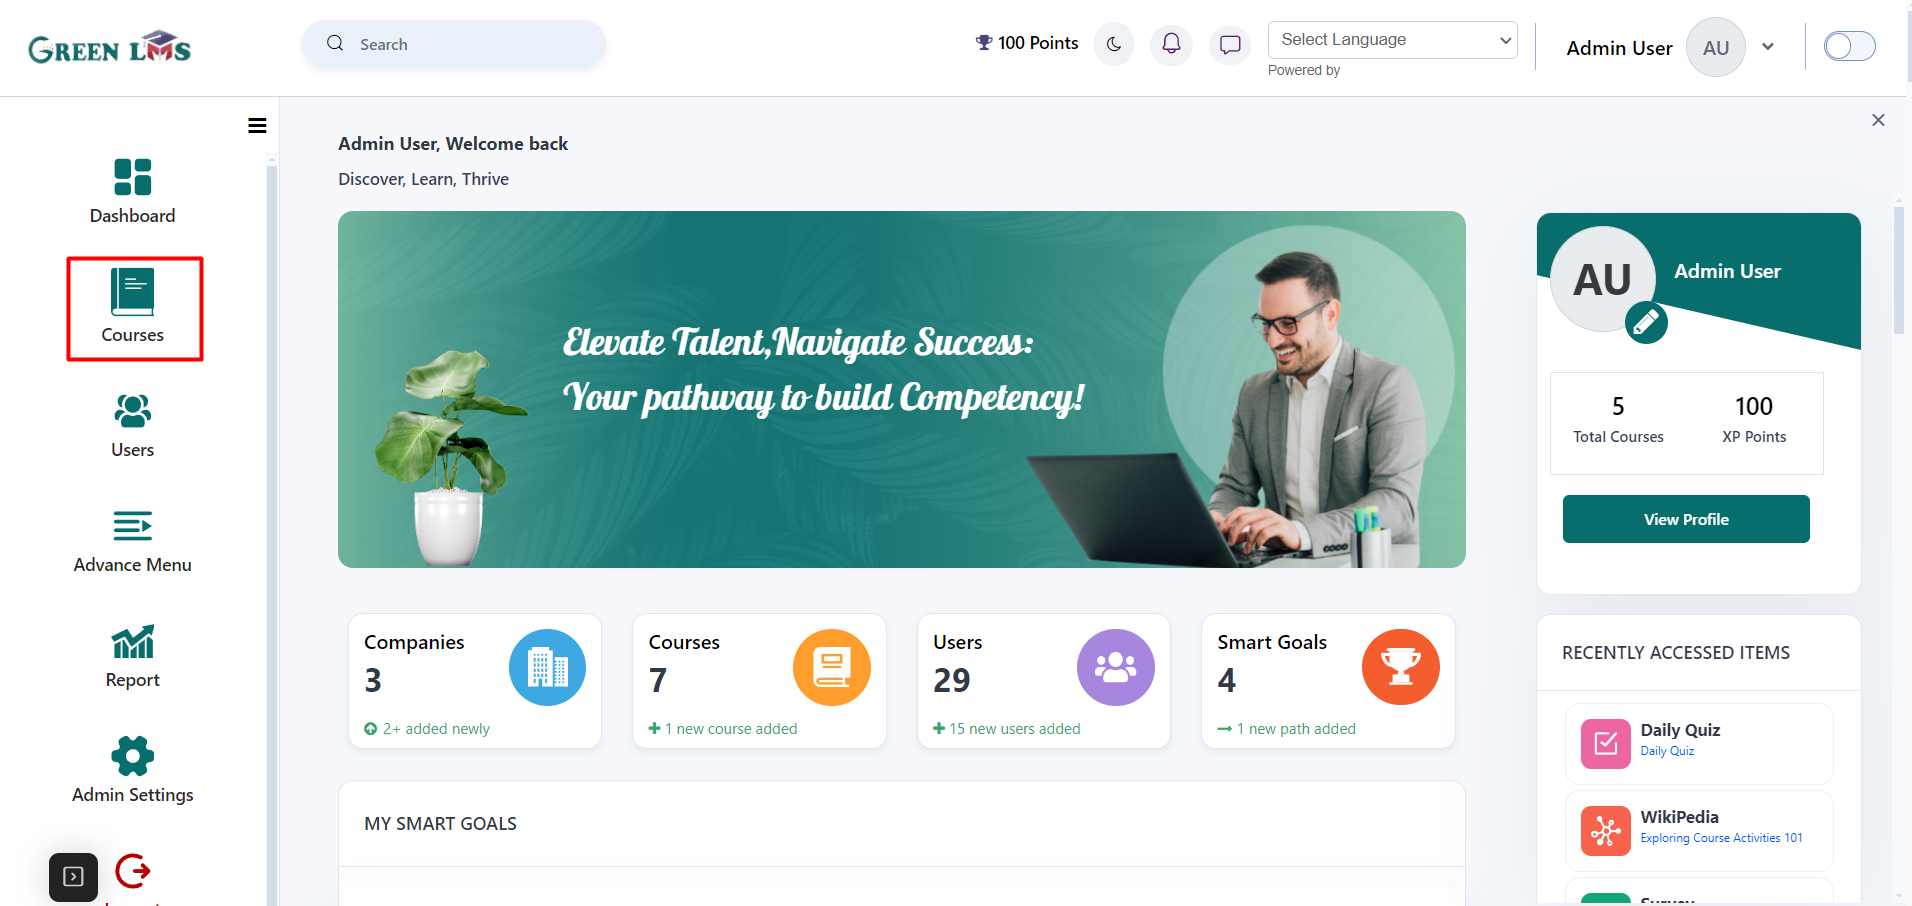
3. Click "View Course" button.
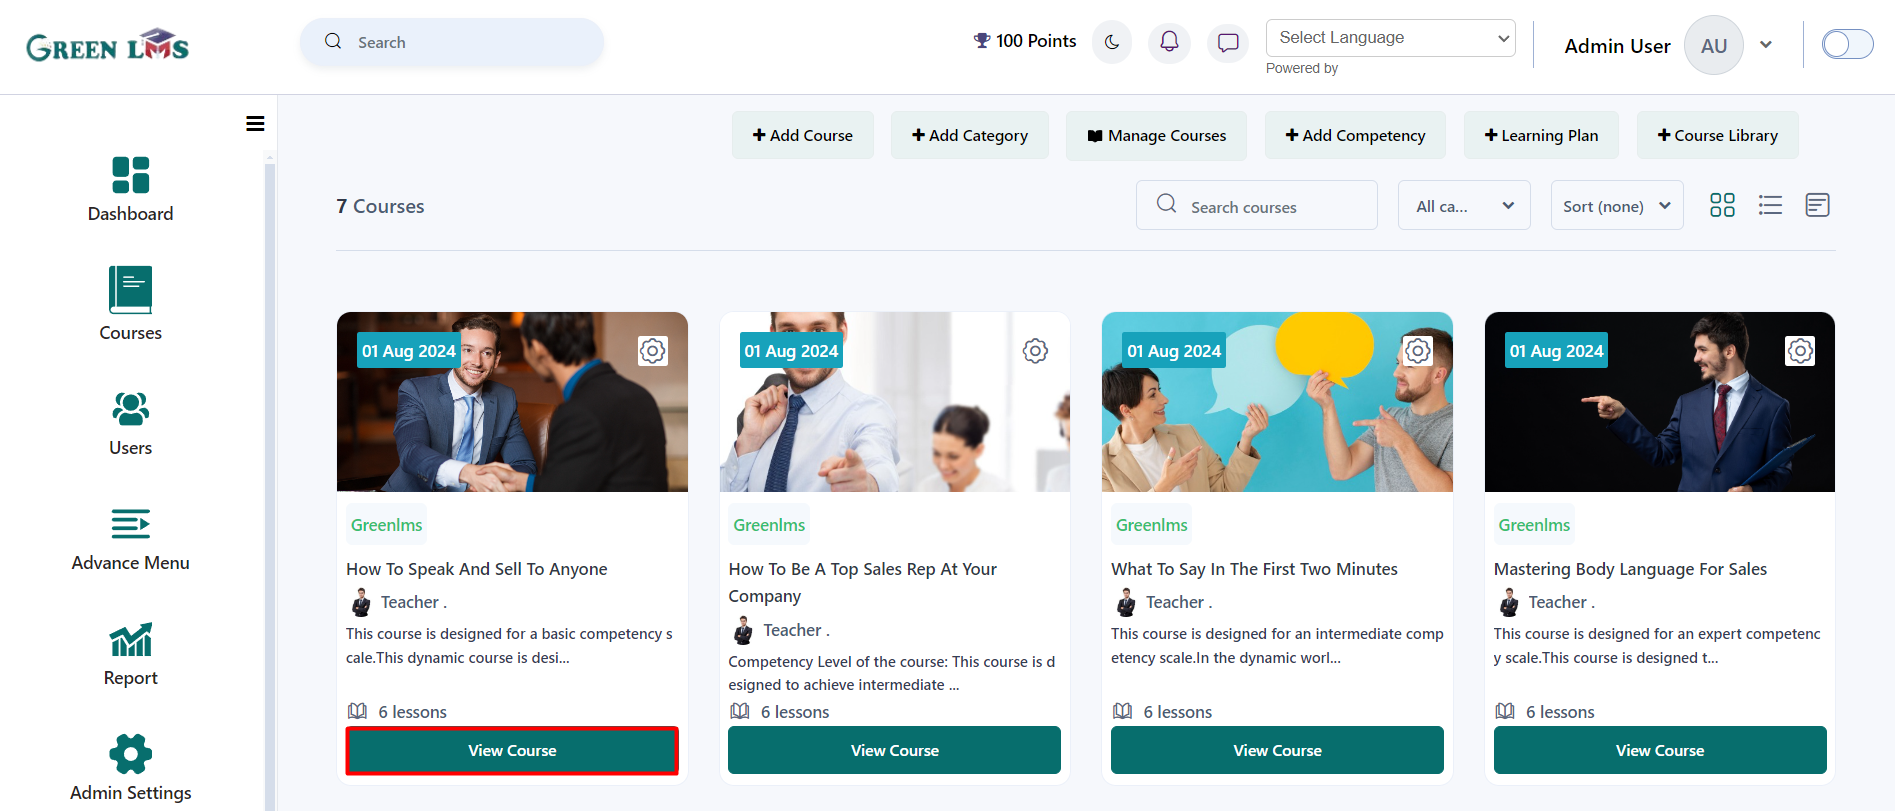
4. Click on the radio button to turn editing on of the course.
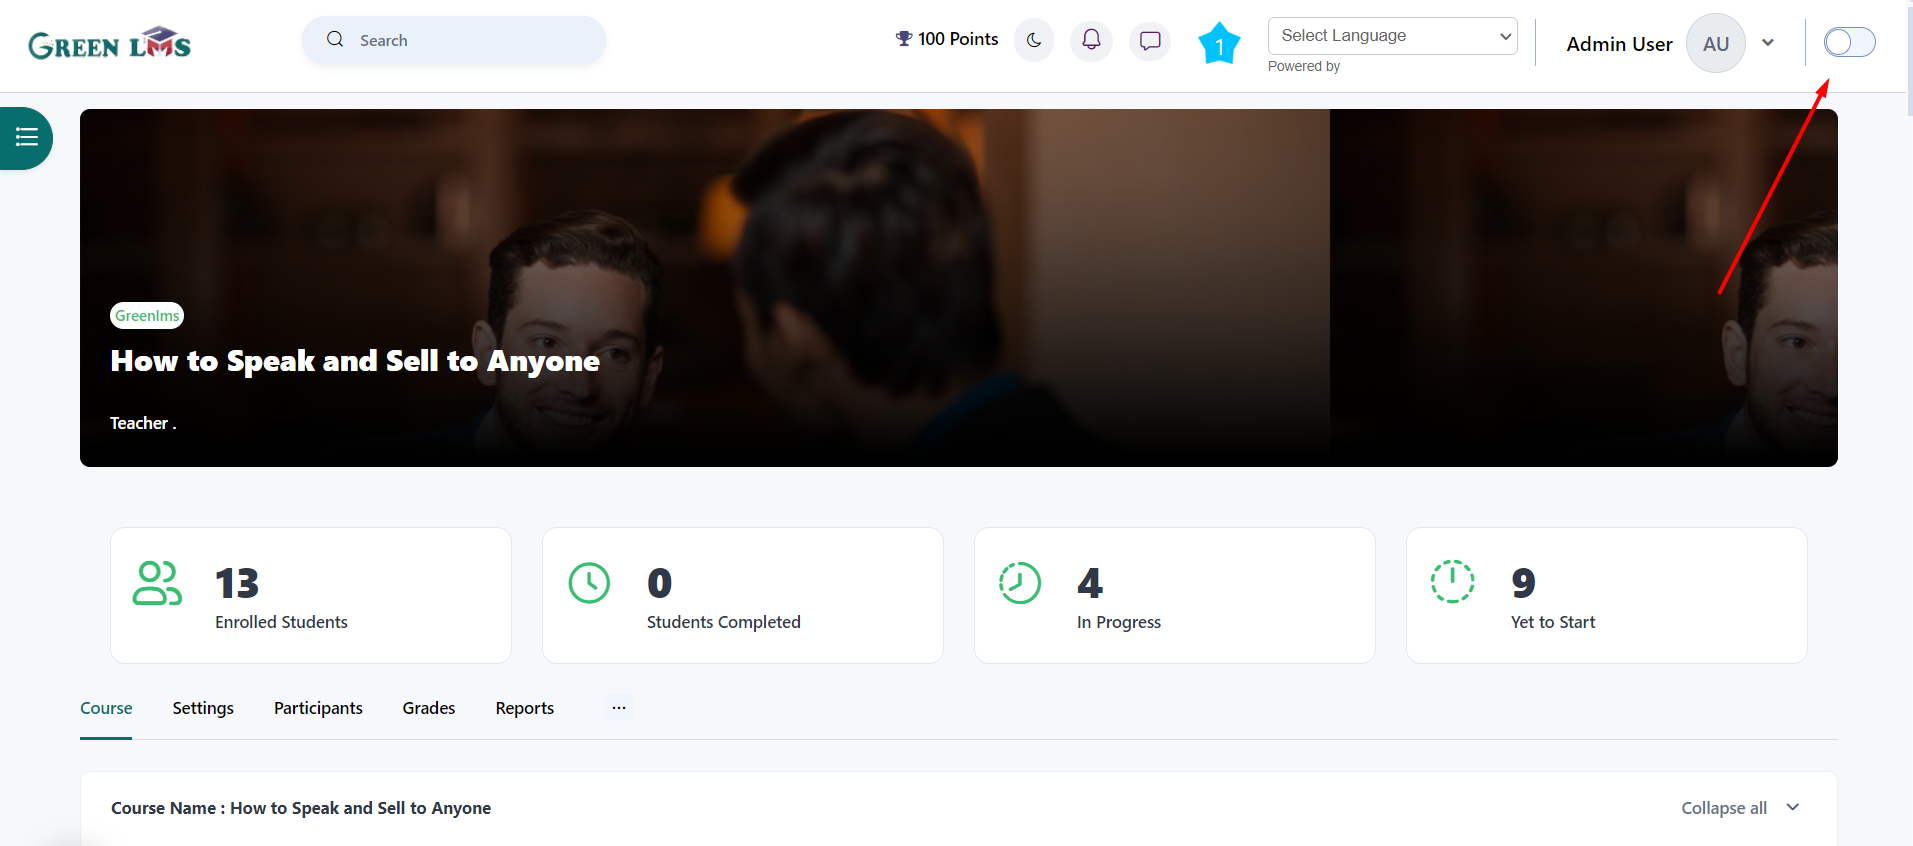
5. Click on the "Add a block (Right Sidebar)".

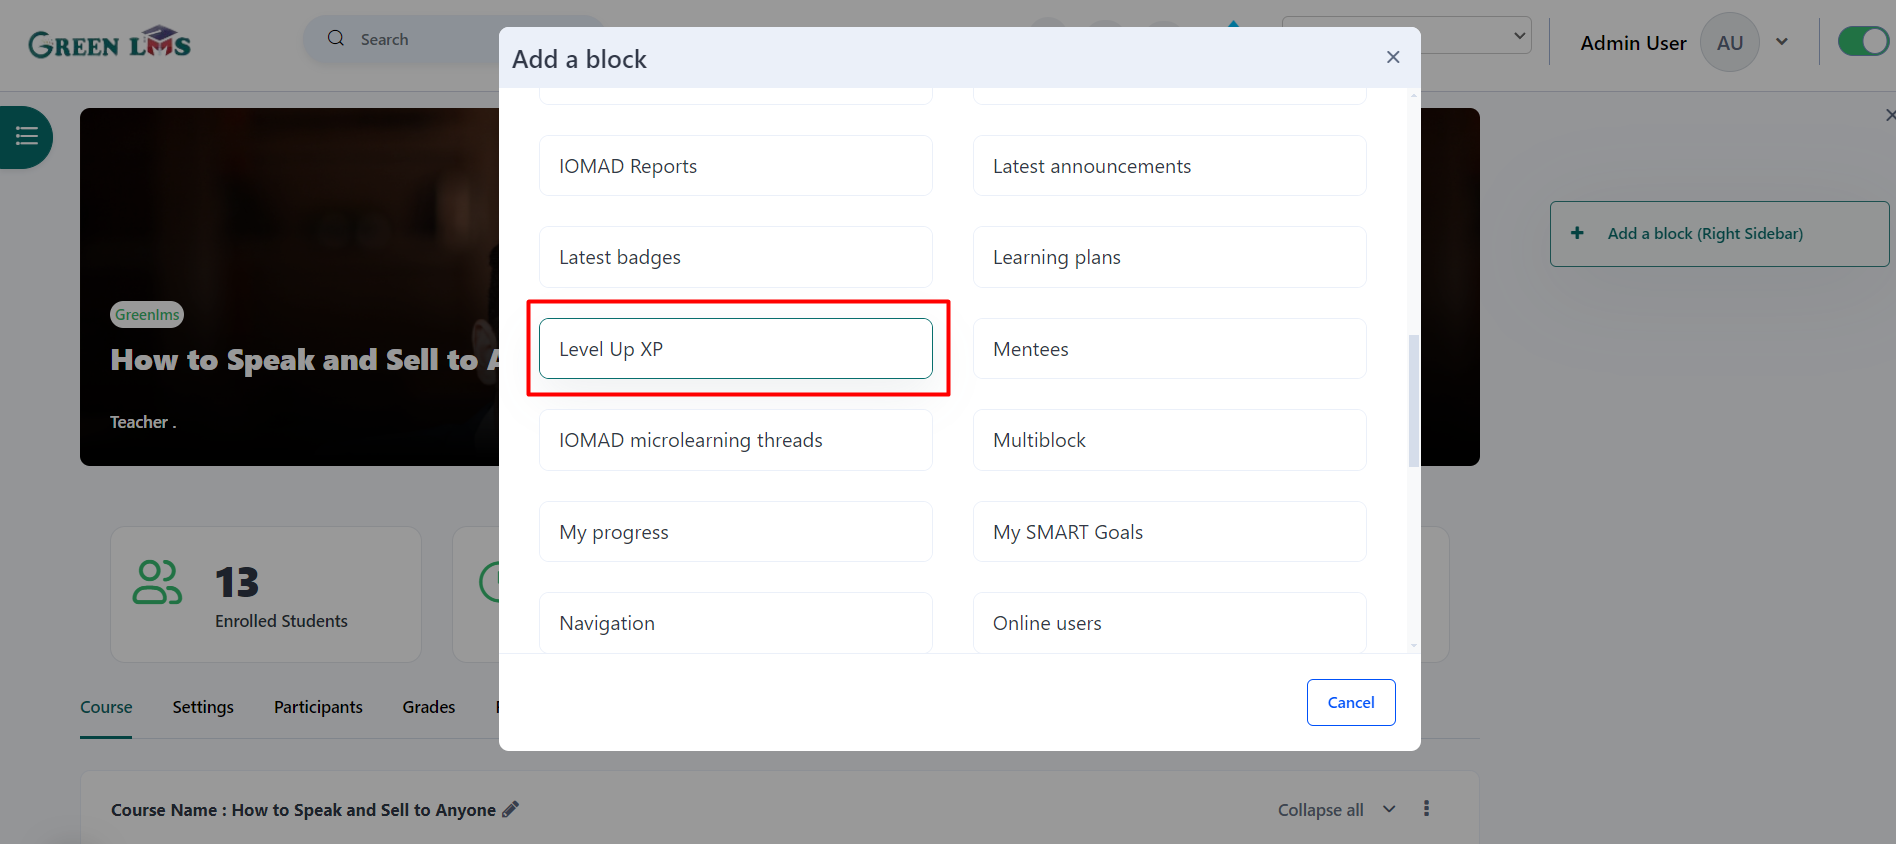
6. Find and Click on the "Level Up XP".
7. Now Turn Editing off by click on the radio button again.

8. Now Click on the "Setting" to configure.
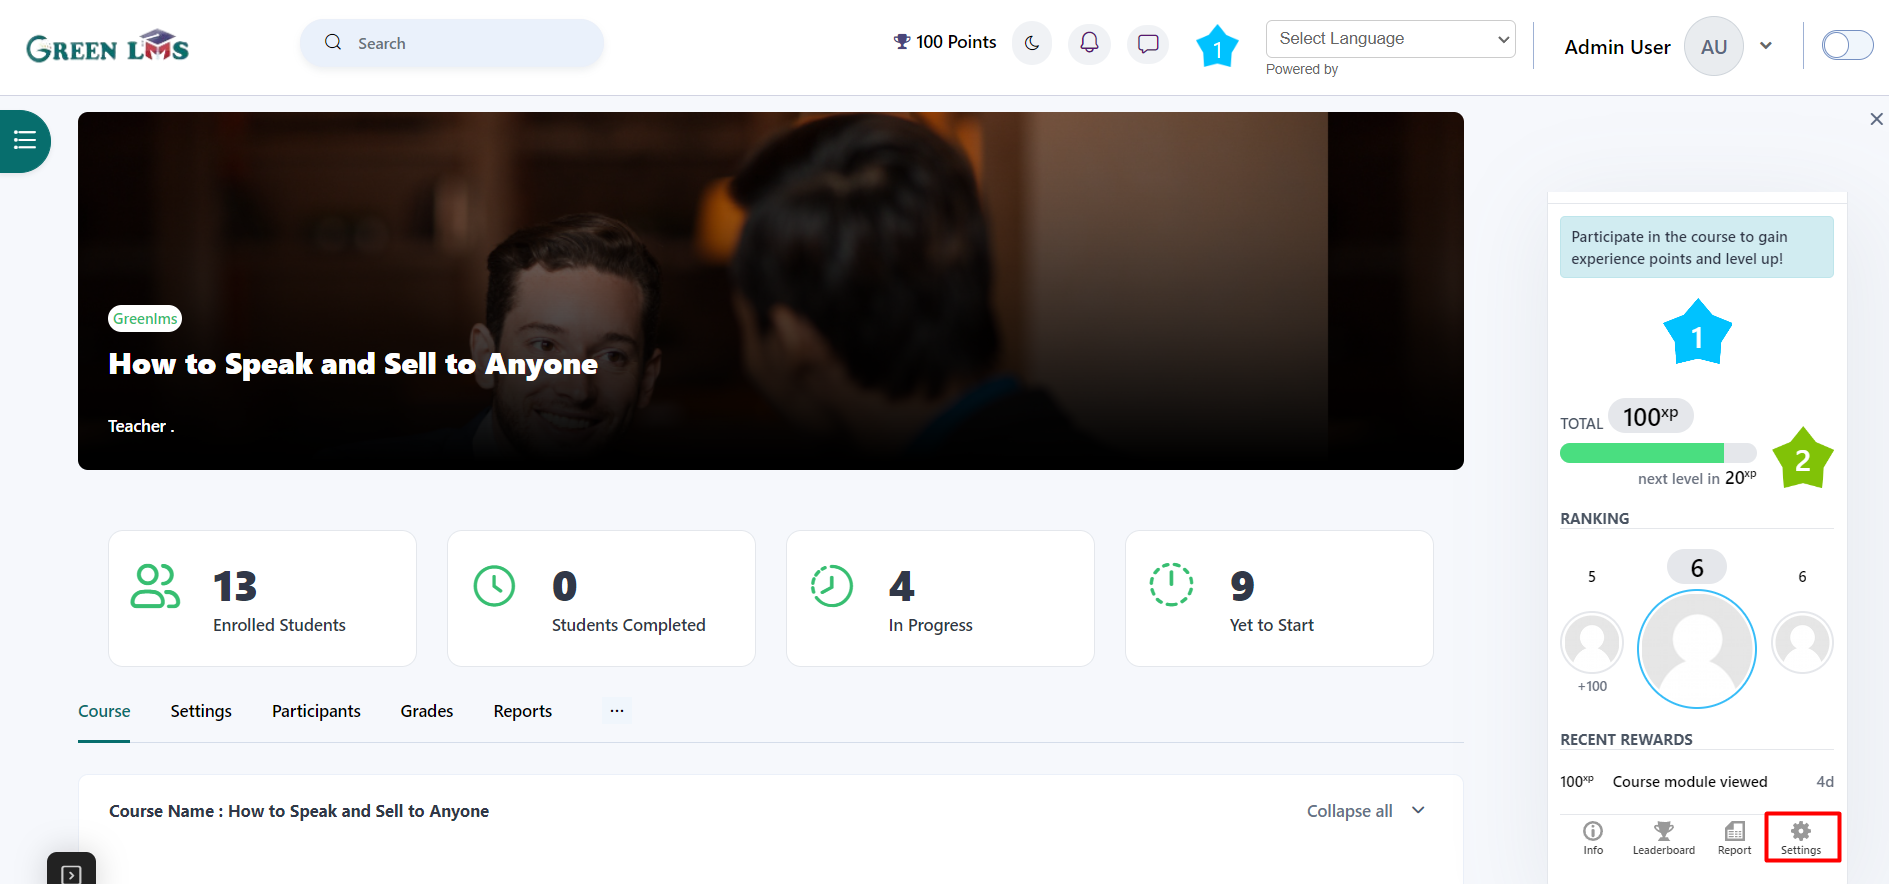
9.
Info - Here you can see all the info related to the levels.

10.
Leaderboard – All student will appear here with their levels ranks and points

11.
Team Leaders – teams will appear here with their rank and points Teams will be the groups of the course when set to Course groups. If a learner is a part of many groups, they can be on multiple teams. Only groups with at least one member with points will be displayed in the leaderboard.

12.
Reports – From here you can download the report and edit points of students as well.

13.
Logs – log will appear here.

14.
Levels -
Start represents the total number of points required to attain the level.
Length represents the additional number of points to earn to reach the next level.

Now click on the Quick Edit Points

Although you have the option to manually enter the points for each level, we suggest utilizing the "Quick edit points" widget to assign points to each level automatically.

You can choose between three different ways for the calculation. Since it creates an atmosphere where early levels are not too challenging but get harder as a student advances, we advocate the "Snowballing" method. Let's review each technique.
Equal
The easiest approach is this one. The exact same amount of points are needed to pass each level. Because of this, it is highly predictable for both teachers and students. Unless the number of levels is very limited and the motivation comes more from gaining points than from leveling up, we would advise against utilizing this strategy. Since every level is the same, using this strategy can eliminate the sense of accomplishment that comes with attaining a goal.
Increasing
With this approach, the level of difficulty climbs linearly between each level. Put simply, it takes the same amount of work as the previous level plus a little extra to get to the next one. Given that the points are predictable, this system might be simpler for a teacher to implement.
Snowballing
This approach also progressively raises the amount of difficulty between each level, beginning with little increments and working their way up to a much higher level. A level's points are multiplied by the percentage of its predecessor. With this approach, students can move through the levels more rapidly at first, then more slowly and with greater effort. For a higher number of levels, this approach might not be the best choice because the points might rise too quickly.
-Enter the name description and you can also customize the levelled up pop up message
-Badge to Award
-When a learner reaches a level, you have the option to give them a Moodle badge. Expand the level and choose the badge from the selection to choose it. You can't pick every badge; more information is provided below.
 Creating compatible badges
A few criteria need to be considered while creating badges that XP can reward. It is necessary to enable the "Manually issued by role" criterion, and it cannot be mixed with any other criterion. Access to the badge needs to be enabled when the criteria have been set up.
The badge will appear in the level settings if it has been properly set and you are authorized to award it.
Appearance – You can customize the icons if the leavels

15.
Points - The first condition is set to ANY of the conditions are true, and the second condition is set to NONE of the criteria are true. This is how you start adding conditions. Next, change the top condition to ALL of the conditions are true. This instructs the plugin that in order for the grade awards to be applied, both sets of requirements need to be met.

16. Now click on the Import.

17. For this the file format will be in the CSV must contain at the very least the columns user and points. A third column message can also be present, but is not required.

Here is the sample of the file:
user,points,message
4,10,Message for user with ID 4
username1,20,
usermail@example.com,30,"Congratulations, you’ve done great work!"
18.
Settings - Click on Settings and below are the settings you can adjust according to your requirements


Since XP assigns points based on the activities of its users, some users might be tempted to take advantage of the system by repeatedly executing fast or similar behaviors. XP has a built-in security feature called "Cheat guard" to address this.
It's critical that you comprehend how the cheat guard stops abuses and rewards proper behavior.
All that the cheat guard does is verify if the student is authorized to receive credit for a particular activity. If they aren't, the action is entirely disregarded. Certain acts are one-time events, thus if the cheat guard disregards the action, the student will never again have the opportunity to receive a reward for that particular activity.

19. Here you can customize that how this block will appear at the student end and after that click on the "
Save changes" button.


